Tuesday, November 29, 2011

Tulle and headbands

I love tulle.

I really like making tulle skirts for the girl.  She really doesn't like to wear them.  In my previous post, I mentioned that her Halloween costume was made of tulle.  I couldn't try it on her prior to the big hunt for candy, so I had to pray that it fit her.  She *really* hates all that tulle.  But I make her wear it just the same. . .mwahahaha!
The point to this: I made her a tulle skirt earlier this summer.  I don't have a good picture of her in it.  When I was finally able to get her to try it on, she fell into fetal position on the floor and refused to move until I said I was going to take it off.  That's my girl!  One of her walking away from me, in disgust, is the best I could get.


And then I made her a circle skirt.  I found this fabric on the discount rack and I had to get it.  I love the super bright colors.  It was perfect for the summer.

I whipped up some fabric headbands as well.  I have a friend who wanted some for her little girl.  I made them in July.  It's November.  I still haven't sent them.  Now I'm just waiting until it is closer to Christmas and I'll just send them with her present.


Hmm, speaking of Christmas presents. . .I better sign off.  I have it in my head that I can make a ton of crafty things for gifts.  I know of three people who are getting something handmade.  I just decided this last night.  For some reason, it is ingrained in me that doing things at the last minute is the best time.  I really need to get moving on this.  Ugh. . .Pinterest, you are the devil!

Off to make more crafty messes,
Jen

Friday, November 25, 2011

So we meet again...

Shabby Blogs
So, I've decided to give this little blog some love. I think it has missed me. I may have missed it as well. Plus, making myself post things on here will force me to make things and be crafty. That's not to say I haven't been crafty during my time away from this blog. I HAVE been crafty! I'm serious! Oh, you don't believe me, then I'll post pictures. I'll post lots of pictures and show *you* what's up! 
Whoa...I'm sorry. I don't know what came over me. I think my bickering, petty children have rubbed off on me. 

 Breathe in. Breathe out. 
Okay, I'm in a better place.

I don't know if anyone even reads this, but I need it for my own personal accountability.  I won't be crafty otherwise.  So here goes. . .

 From my last post (in May) to now (eek, end of November), I've done quite a bit.  We went to Disneyworld and I made "autograph books" for the kids.  To say that the girl loved meeting Aurora (aka Sweeping Booty in our house) would be an understatement.  She wouldn't let her go.  Cinderella was a different story.  While she liked meeting her, the girl tried to lift her skirt and then tried to rip off her wig.  Ol' Cindy definitely earned her paycheck that day :)


The boy had a birthday in August.  It was pirate-themed.  That night, my house looked like actual pirates had come and pillaged it.  By 830pm, the boy and I were exhausted!  But he and all his friends had a great time.  The girl's birthday in October was a little less extravagant.  It was her 3rd birthday. . .next year I'll do something more, when she'll actually care.


For Halloween, I made their costumes.
The girl was supposed to be a scarecrow, but ended up looking more like a harvest fairy or something.  Either way, it was pretty cute.  I got the idea off of Pinterest.


(Side note:  I love Pinterest.  I love it more than someone should love a website like that.  I had to have a personal intervention with myself, because I would lose hours at night on Pinterest.  I'm happy to announce I am reformed and am much less of an addict.)


I made her a tulle dress, with a handmade flower in the middle where the halter straps attached.  And I made her hat out of felt with a handmade flower and some tulle decoration.  The boy decided he wanted to be a cowboy.  Thank you Lord!  I say that because I didn't have to buy or do anything for his costume. Last year, I had made him some chaps.  All I had to do this year was let them out around the waist and it was perfect.  Plus, he has plenty of guns already so I knew he was covered.

Happy Crafting, 
or Scrapping, 
or if you're me, serious mess making. . .
                  Jen.

Thursday, May 26, 2011

Pre-move craftiness

I haven't done anything crafty in over a month.
But here are the pictures of the crafty things that happened before that month-long hiatus:


A lot of baby stuff happened.  Sorry.

-This is a taggie blanket and bib I made for my soon-to-be-born nephew, Chase.  Flannel on one side, terry cloth on the other.  And in case you didn't know, terry cloth is messy, like super messy.  By the end of these two small items, I was covered, my floor was covered, the dog was covered.  It was everywhere!


-Family friends had a little girl and a month later I finally made a small gift for her.
What I won't mention is that it took another month (after we moved) to finally send it out.
I made her two sets of baby legs (I've given up on making them for my daughter, her thighs are too big) and a taggie blanket.  I also made a changing pad, but I don't seem to have a picture of it.  Oops.


-And because I found this super cute fabric, I also made Chase a changing pad and diaper holder.  The diaper holder is designed to fit a wipes travel container and a couple of diapers.  Then it can fit inside the changing pad.


So you don't think that I came up with these wonderful ideas on my own (I'm not that creative), I should tell you that I got the patterns for them, except the baby legs, from this book:

And for the baby legs, I got the pattern from Snazzie Drawers.  I can't find the exact page it was one, but  just browse around and you'll find it.  And if you don't find it, that's alright, because she has a lot of super cute things to look at.

Before I sign off and go back to my mothering duties, like potty training my daughter and feeding my kids breakfast, I'd like to leave you with a smile:

ARRRGHHH!


She loves to vacuum.  I can't wait for her to be old enough to vacuum for real, without me worrying that she's going to pick up my vacuum and throw it against something.  It's possible she likes to do that with hers.

Tuesday, May 3, 2011

In case you cared: Yes! I'm still alive!

Holy moly!  It has been almost forever since I last blogged something.  Sorry.  The past few weeks have been crazy.  We had spring break, then some sickness, then some serious cleaning, then some packing and moving, then more serious cleaning, then some long distance driving, then some hotel living, and ending with empty house living.  It has been a bit hectic to say the least.  Our move was expected, but it came sooner than originally expected, does that even make sense?  The drive wasn't too horrible, with two kids and a dog. 

A few things I learned from the drive:
-Size 4 Pampers can make it 100 miles without a leak (any distance after that. . .well, you'll just have to see for yourself)
-Even though your dog doesn't poop at all on any of the breaks you take, doesn't mean she doesn't want to poop.  It just means she's waiting until you go into McDonald's to eat and she'll do it on her blanket in the back of the car.
-Before the age of "are we there yet?" is the age of "I'm hungry".  This age brings with it: "I'm hungry", "Can I have a snack?" "Is it lunch time?" and "When can we eat?" (and this age cares not if it's been 2 hours or 2 seconds since food was eaten).

But we made it in one piece and I think my mother-in-law still loves me and the kids.  Oh, you didn't know, I made her ride shotgun and help me with the kids.  If someone makes an offer like that, I'm taking them up on it.  Now you've been warned.
We just missed a "door-to-door" move of our household things by one day.  This meant that when we did get our house, they wouldn't be able to deliver it for another two weeks.  So, as I type this, I'm currently sitting on a borrowed sleeping mat, in an empty house (listening to my son count as high as he can. . .he's currently on 136. . .we're a little bored).  The hubs offered for us to stay in the hotel until we could get our stuff, but I couldn't do it.  Even in an extended stay hotel, that just wasn't enough room for me, him, the boy, the girl, the dog and all our junk.  Plus, I couldn't find any of the clothes I packed in my suitcase.  It was a big jumbled mess.  I needed to move into this house if only to dump out my suitcase and throw my clothes all over the place (which I did do and now it's biting me in the butt because I have to pick everything up before the stuff comes).
(The boy stopped at 149.  I guess he was actually counting something.  Who knew?)

I guess having nothing gives one the time to do other things.  We've already been to the beach and LOVED it!  Tybee Island is fantastic.  If you've never been, you need to go.  And because we've chosen not to put the boy in school for the last couple weeks of the school down here (it's only kindergarten. . .right?), I can take them during the week, while everyone else is in school.  Is it horrible that while I type that, there's an evil laugh happening in my head?  Bwahahaha. . .

That's all the excitement happening in our lives.  Actually, look back, I suppose it isn't very exciting.  It seems quite boring.  Once I get our stuff, I'll start crafting again.  And I'll post pictures of the small things I managed to get done before the move.  


Anyone know of any babysitters in the Savannah/Richmond Hill, GA area?  Probably not.


Friday, March 11, 2011

Fun with flowers and tutorial

Before I get to the flowers, I need to tell you that I made the best gumbo on Tuesday night.  To celebrate Mardi Gras, I decided it wouldn't be right if we didn't have a little cajun goodness. 
 On the menu: 
Shrimp, Sausage, Chicken Gumbo
Androuille Sausage Creole
Cajun Shrimp and Cucumber Salad
Crepes
King's Cake
Sangria

It was all so wonderful!

I snagged the gumbo recipe from here and the salad recipe from here.  Both are on the Pioneer Woman's Tasty Kitchen website.  For the sausage creole and sangria, just hit up the Food Network website for both. I'll admit, the King's Cake was not homemade.  But everything else was, so that makes up for it, right?

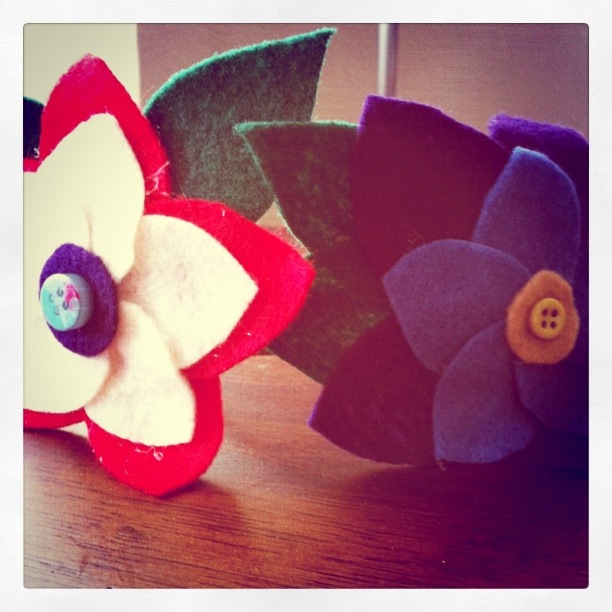
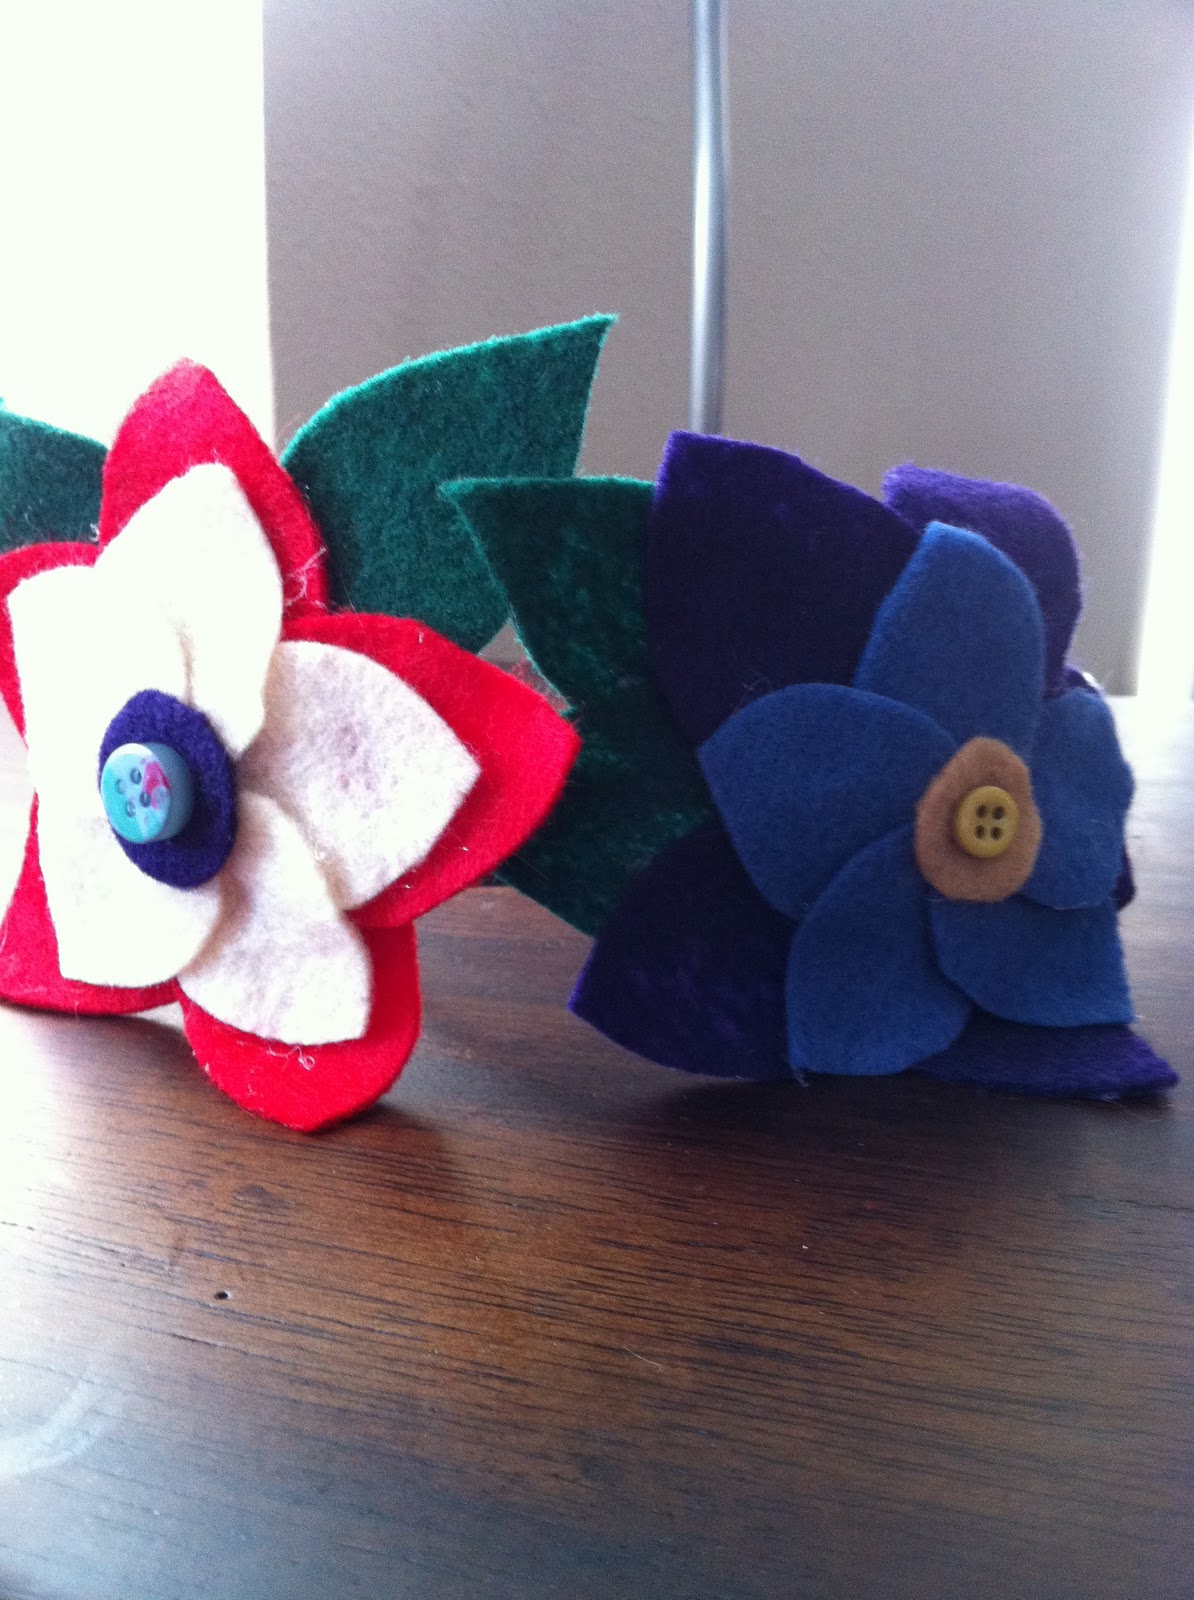
I've been trying my hand at making some flowers.  You've seen the felt flowers.  This week, I've worked on a few with normal fabric :)  These are two I've made so far:


I got tutorials for both of these flowers at Prudent Baby.  So much easier than I thought it would be.  I took the first flower and incorporated it into a little project I did.  And this leads me to a tutorial. . .

Skirt Slip Tank Top
I was at a little boutique a few weeks ago and I saw tank made with a skirt slip.  I thought it was the cutest thing.  I knew it would be perfect in the summer time over a solid colored tank.  Because I always think I can make anything (I like to pump myself up), I decided to make one for myself.  It actually turned out alright.  What do you think?
(You can't see my face because I don't have makeup on and I don't want to scare you!)


It wasn't that difficult to make.  So, here's how I did it:

Necessities:
Skirt slip (it needs to be wide enough to fit around your chest)
Doilies (as many or as little as you'd like)
Fabric (for the straps; you won't need a lot, I used scraps)
Buttons
Fabric flower
Ribbon
Needle
Coordinating thread

1) I started by picking out the buttons I wanted to use as decoration.  I placed one at the center of each doily.  You'll also need two matching ones to attach to your straps.

2) After I attached the buttons, I laid out the doilies to decide how I wanted them placed on the top.  Once I got what I wanted, I hand-sewed the doilies together.  Remember to use coordinating colored thread because you don't want your crazy sewing to show.  You'll want to make sure the doilies are pretty secure to each other, so sew all over the place (that's what I mean by crazy sewing!).

After connecting the doilies, attach it to the slip.  I hand-sewed this as well.  And I didn't sew all the doilies to the slip, because I was afraid it would bunch up.  I chose to just sew the top two doilies, but I did sew all along the circle.  It should be pretty secure.

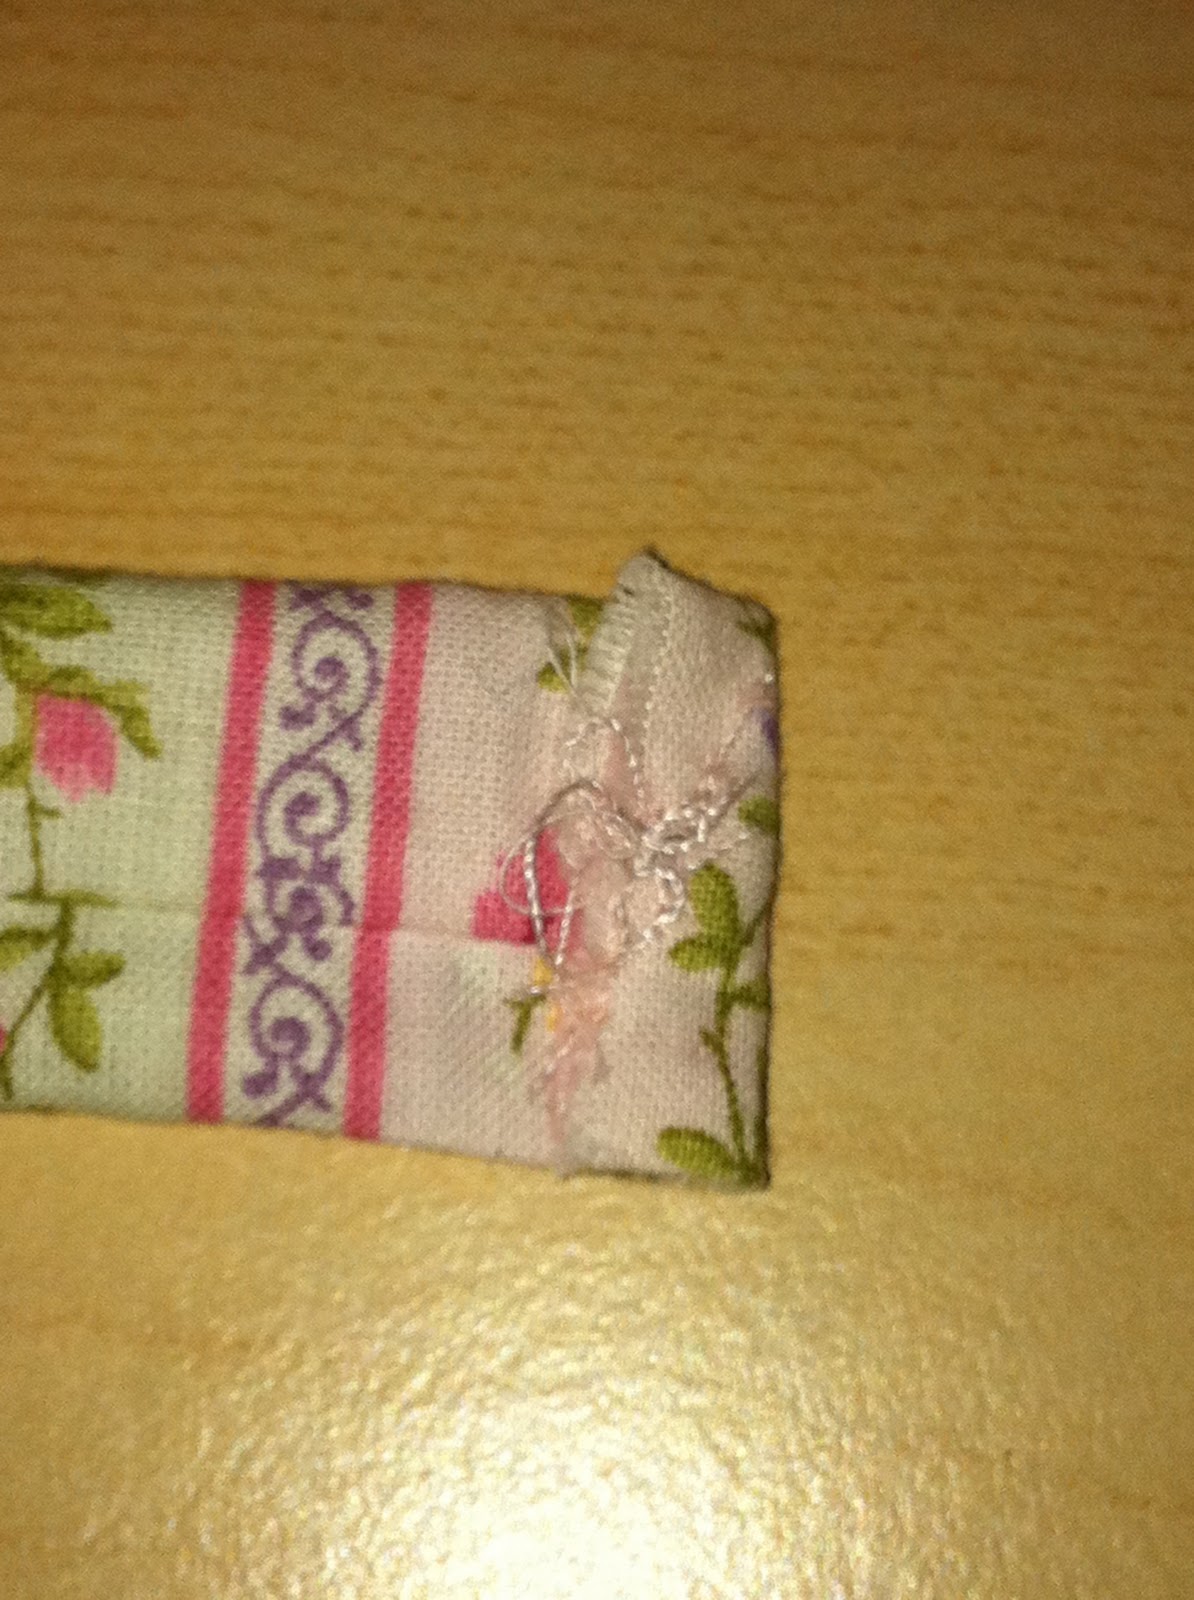
3) Next, I made the straps.  I cut my fabric to be 21 inches long x 2.5 inches wide (and you'll need to do that twice).  Then fold the fabric in half, lengthwise, right sides together.

Sew a 1/4 inch seam down the long side, making sure not to close off the ends.  Once that is done, turn them right side out.  To finish the ends, I just folded them 1/4 inch and sewed.
(My sewing machine went wonky, so I apologize for the jumbled thread-mess!)

4) Next, make button holes on one end of your straps.  This is how you'll attach them in the front.
(Please shield your eyes to the dry, scaliness of my fingers. . .yuck!)

5) Decide on the placement of your straps.  I tried on the shirt and placed a pin in the spots where I wanted my buttons to go.  I then attached my buttons and buttoned the straps to them.  Then I tried on the top again, but backwards. . .so I could see the back and figure out where I wanted the straps to attach on the back.  Does that make sense?  I'm sure there's a better way, but this worked for me.  I don't have picture, but if I did it would be silly.
After pinning the straps to the back, I hand-sewed them to the top.

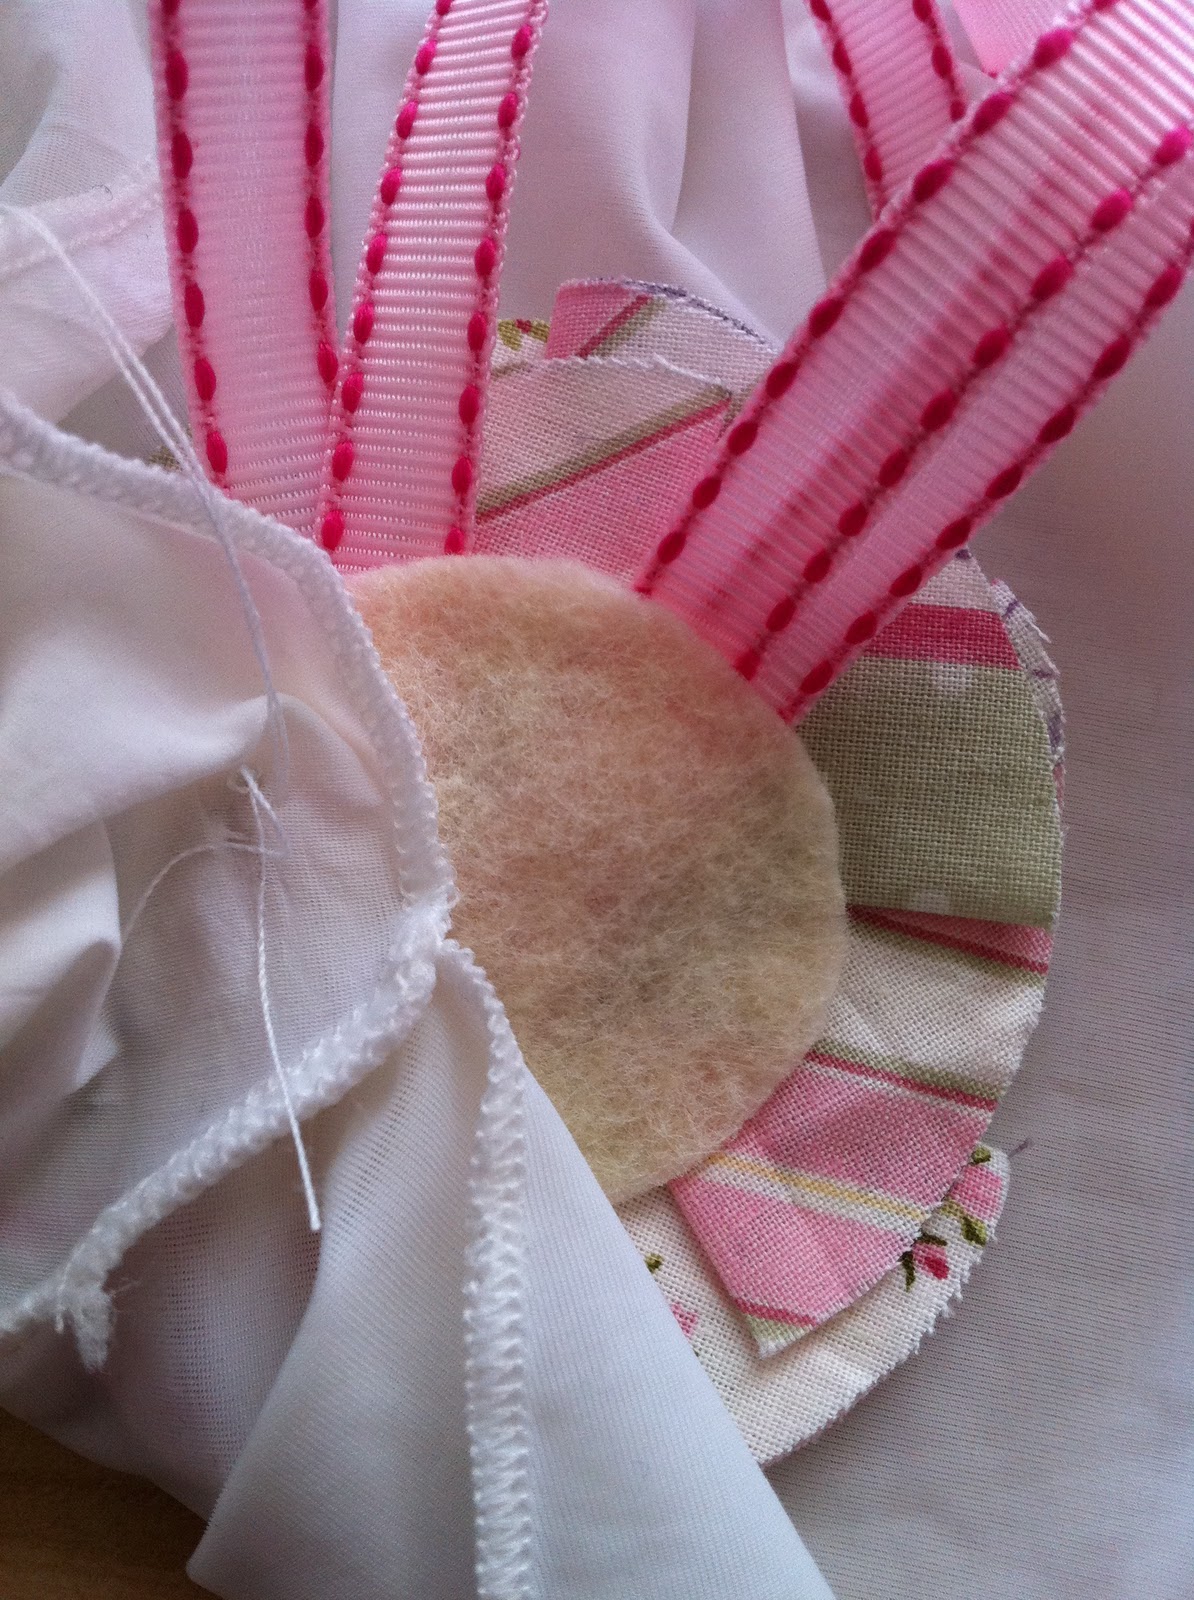
6) Because my slip has a little slit on one side, I wanted something to cover it.  I chose to put a flower there.  Just enough detail to take away from the fact that there's a slit.  I took this flower:

I attached some ribbon and a felt backing to it and began sewing it to the top of the slit.

7) After that, all you need to do is to trim off any stray thread that might be hanging around, try it on, and marvel at your beautiful creation.

I plan to wear mine over a solid pink tank (which is in the wash, that's why it isn't being shown here).  The fabric of my straps is a coordinating fabric to the one used for the flower.  I wanted something with color and a pattern, because the slip and doilies are just white.  I'm please with the way it turned out.  I can't wait for warmer weather so that I can wear it.  Tell me what you think!


Because I like to put silly pictures of my children on here, I'll leave you with a couple to make you smile:
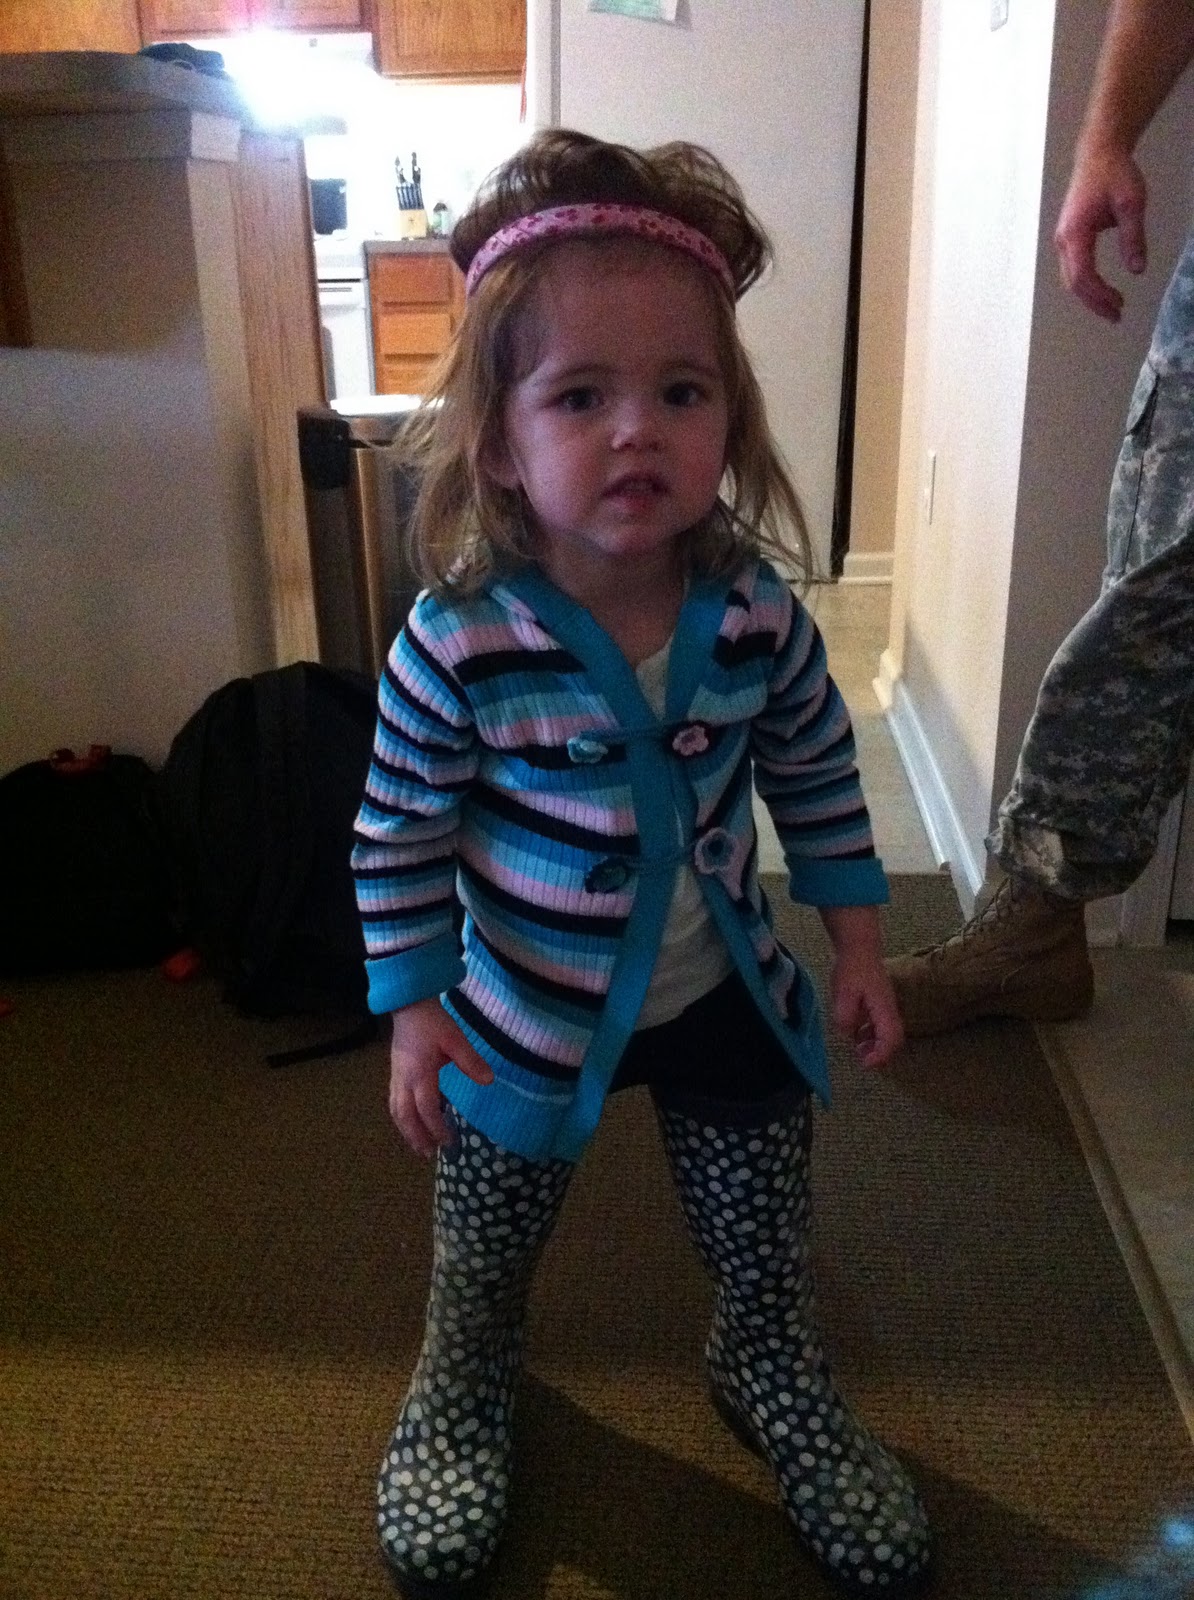
She likes to put the headband on herself.  She also likes to wear my shoes.  These ones were a little too high for her to lift her leg into, so my hubs need to help.  It was so funny watching her try to walk, while saying, "Look at me, Mommy, look at me!!!"

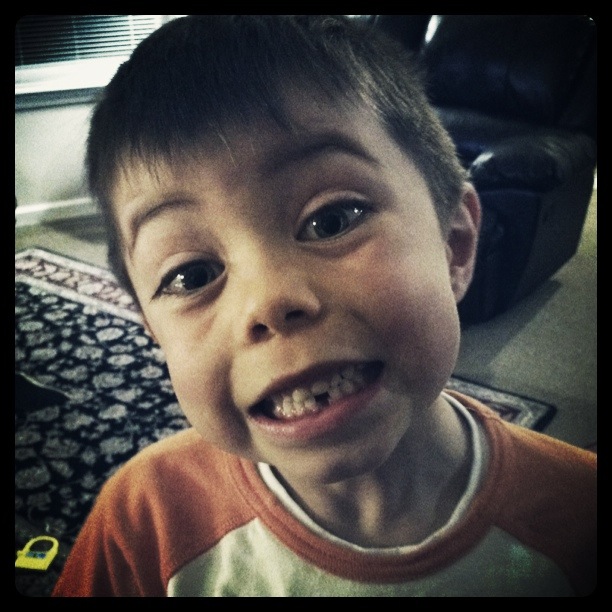
We lost our first tooth! (can you tell?)
A little K-State love. . .even though they lost yesterday.

Monday, March 7, 2011

Felt Flower Headband tutorial


This is my first tutorial.  And while it is for something super simple, it still makes me happy!  When I decided to make these, I thought I would use them for myself and for the girl.  However, the headbands are too thin for the girl, she'll break them in an instant.  So, I have them all to myself.  I think I might make her some clips, but until then,  they're all MINE!  HA!

Okay, I'm done.

Like I said, they are super simple.  All you need is:


scrap paper
felt, in various colors
a headband, or two or three or a million
hot glue, any crafters best friend
a button, the size depends on the size of your flower

First things first, you need to make a template.  Well, if you're like me, you need to make a template.  But if you're good with freehand cutting, feel free to just start cutting.  The templates are for the leaves and the petals.  I made one size for the leaves and two sizes for the petals (one slightly larger than the other).  This is just how I did it, but you know you can just make them whatever size you feel comfortable with.


Next, choose your felt.  I tried to stay traditional with the leaves being green and I like to use two of them.  With the flower, I chose two different colors for the petals and cut five from each.  You'll also need a small circle for the middle of your flower and two larger circles to 1) attach the flower to and 2) attach it to the headband.


Now, you'll arrange your petals and leaves on one of the larger felt circles.  Once you've figured out the placing, go ahead and start glueing.  Start with the leaves, then add the larger petals to those, and lastly the small petals.  I then go through it and glue down any flappy parts, just to make sure it is secure. 


This is when you get to pick out your button.  I like to glue the little circle on first then I try out different buttons (varying sizes and color).  Once you find something you like, glue that baby on.


And there is your flower.  Isn't it pretty?  But remember, it could be so much be more.  Choose your headband.  I got a pack of them from Walmart.  They're shiny and make me happy.  You'll need to decide where on the headband you'd like your flower.  I try to put them a little on the side.  When you have it figured out, put a small bead of glue on the headband and attach the flower.  Next, glue like crazy on the bottom of the flower's felt circle and attach the other circle.  This will secure it to the headband with zero chance of it falling off.  (Okay, I don't know about "zero chance", but it's pretty darn secure)


All that's left is to pull off all the stringy glue that likes to hang around and Voila!  You have your very own felt headband.  Isn't it beautiful?!  And you can make these flowers and stick them to just about anything.  Make hair clips, attach them to pins and make a broach, sew them to your shirt for a cute little embellishment.  The possibilities are endless.  You can also use some embroidery floss to embellish the flower.  I would show you that, but I can't find the needle I use. . .that could totally be a problem.


So, that is the felt flower headband tutorial.  Thanks for reading it and I'd love to see what you make.